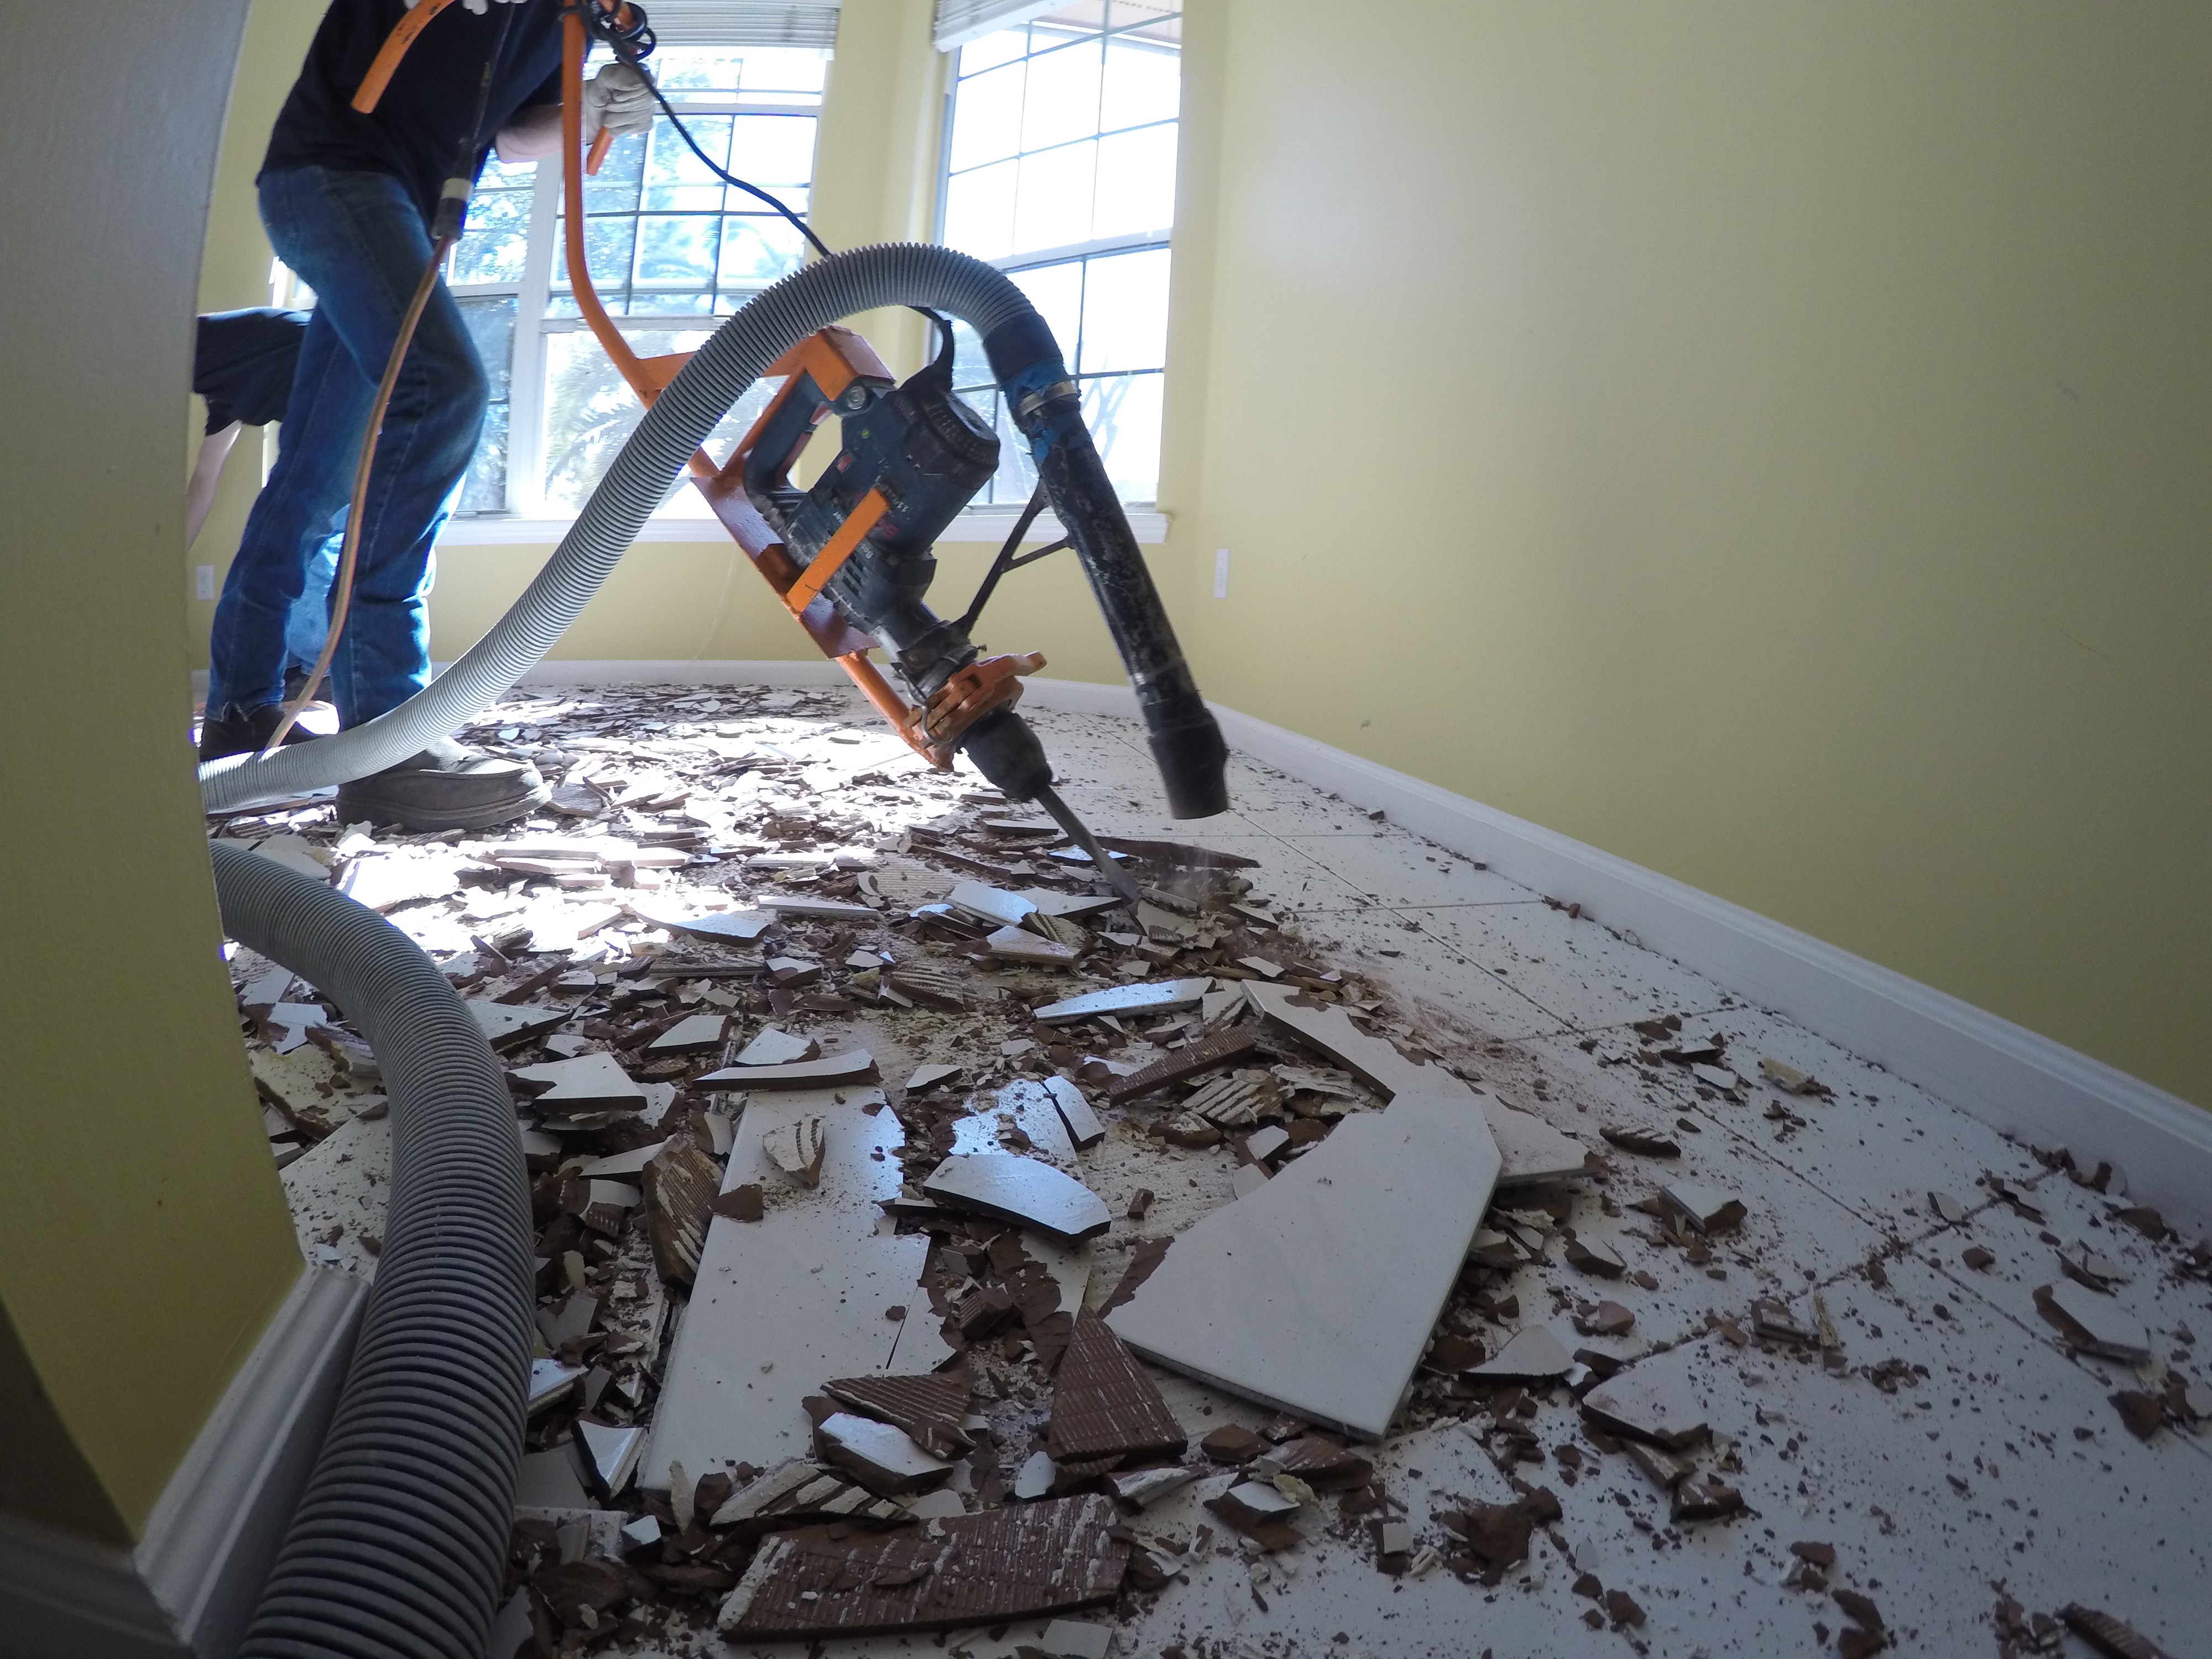
How to Remove Tile Flooring at Home
So you want to remove your own tile? You watched a few shows on HGTV and feel like you can handle the job. Well, we’ll be honest with you. It’s not easy. However, with our guidance and powerful tools from Speedy Floor Removal, we can make tile removal as easy as it can be!
Steps to DIY
Remove the Baseboards and Trim
The first step to removing tile is first removing the baseboards and trim. While removing, make sure to take care so that they can be reinstalled once the new flooring is installed. Gently remove them with a thin pry bar. Make sure to remove any appliances in the room and built-in furniture, like cabinets.
Without the proper equipment, there will be dust involved in the process. You will want to cover any vents with painter’s tape and plastic to keep any dust from entering the ventilation system.
Remove the Tile
For this part, you will need a hammer and a chisel. Before you can start popping up tiles, you will need to first break one apart with the hammer to get to the others. Once you have broken apart the first tile, you can then use the chisel to pry it up. Use the hammer and chisel to pop the rest of the tiles up by placing the chisel against the bottom edge of the tiles and using the hammer to apply pressure to pop the rest up.
If the flooring area you are removing it too large for this tedious task, you can use electric tools to for quicker, more efficient work.
Remove the Underlayment
The underlayment is whatever you find under your tile once you have pulled it all up.
This can include:
- Cement
- Plywood
- Backer Board
- Plywood
- Or more tile…
In most flooring jobs, it is best to go ahead and remove the underlayment, as it could be concealing mold or water damage. It should almost always come up after removing the tile.
If there are screws attaching the underlayment to the floor, you can use a screw gun to remove them. Pry up the edges of the underlayment; this can be done with a roofing rake and a flat shovel.
Clean the Subfloor
It is important that your floor is properly prepped before the flooring installation. You will need to remove any adhesive and remaining screws. If there is any remaining thin set, you will need to go over the surface with a scraper. If there is any old thinset left behind, your new floor could have holes, cracks, and uneven surfaces.
It is very important that you do not begin installing your new flooring until the subfloor is completely flat and smooth.
Speedy Assist Program
The job of tile removal, or any floor removal process really, can be a daunting task. And after reading through what it takes, you may have some doubts, but Speedy Floor Removal is here to lend a hand.
With the Speedy Assist Program, you can get our industry leading floor equipment along with one of our highly trained experts to get the job done quickly and efficiently. Our expert will assist you in the planning of the floor removal, operating the equipment, and also provide you the tools needed for a successful floor removal project.
The Speedy Assist Program will assist you in floor covering removal, coating removal, and even surface preparation to make sure your floor is properly prepped before installing the new flooring. Speedy Floor Removal serves Jacksonville, Gainesville, and the surrounding areas in Florida. Let us assist you with your next project and call Speedy Floor Removal today!

